1. What Is Flow Designer?
Flow Designer is ServiceNow’s low-code automation tool. Instead of writing business rules, scheduled jobs and legacy workflows in script, you build logic visually from three kinds of building block:
- Trigger: the event that starts the flow (a record is created or updated, a schedule fires, an email arrives, a service catalog request is submitted).
- Actions: single units of work such as Look Up Record, Update Record, Create Record, Send Email, Ask For Approval.
- Flow Logic: control structures such as If / Else, For Each, Do the following until, Wait for a duration of time and Set Flow Variables.
Data moves between steps through data pills: the small labelled tokens you drag from earlier steps into later ones, such as Trigger > Incident Record > Number.
2. Why Use It
- Readable by non-developers. A process owner can open a flow and follow it without reading code.
- Built-in execution history. Every run records each step, its inputs and outputs, which makes debugging far easier than hunting through system logs.
- Consistent and governed. Flows can be tested, versioned, activated and deactivated from one place.
- Reusable. Subflows and custom actions prevent copy-and-paste logic across dozens of rules.
- Integration friendly. Spokes for Teams, Slack, Jira and others plug in as ready-made actions.
3. When to Use It
| Situation | Flow Designer a good fit? |
| Notify people and create follow-up tasks when a record meets a condition | Yes |
| Multi-step approval and routing | Yes |
| Repeating reminders until a condition is met | Yes |
| Complex before-save field validation that must block the form | No, use a before business rule or UI policy |
How to Build It
Scenario: When an incident becomes Priority 1, the group manager should be emailed and a triage task created, without anyone doing it by hand
Step 1:
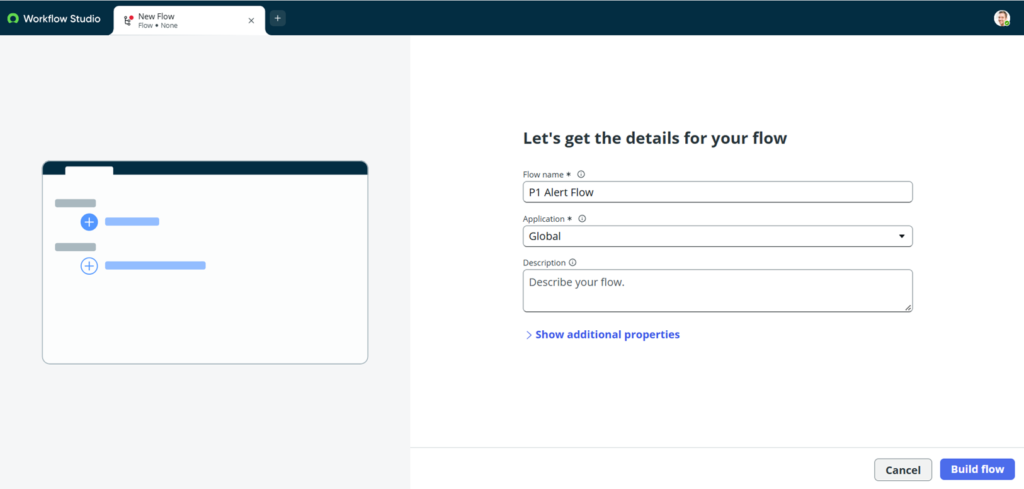
Open All > Process Automation > Flow Designer, select New > Flow, and name it P1 Alert Flow.
Step 2: Trigger.
Choose Record > Created or Updated on Incident, condition Priority is 1 – Critical, Run Trigger: Once.

Step 3: Look Up Record: Assignment Group. Table Group, condition Sys ID is Trigger > Incident Record > Assignment Group. This gives you the group’s Manager.

Step 4: Send Email: alert the manager.
To is Step 2 > Record > Manager > Email. Subject: P1 raised: [Number] – [Short description]. Add a link to the record in the body.

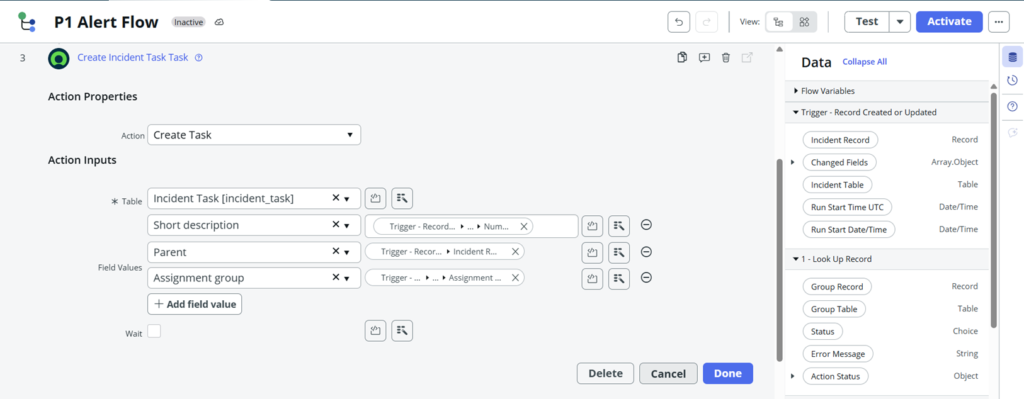
Step 5: Create Task: initial triage. Parent is the incident, assigned to the incident’s assignment group, due in 15 minutes.
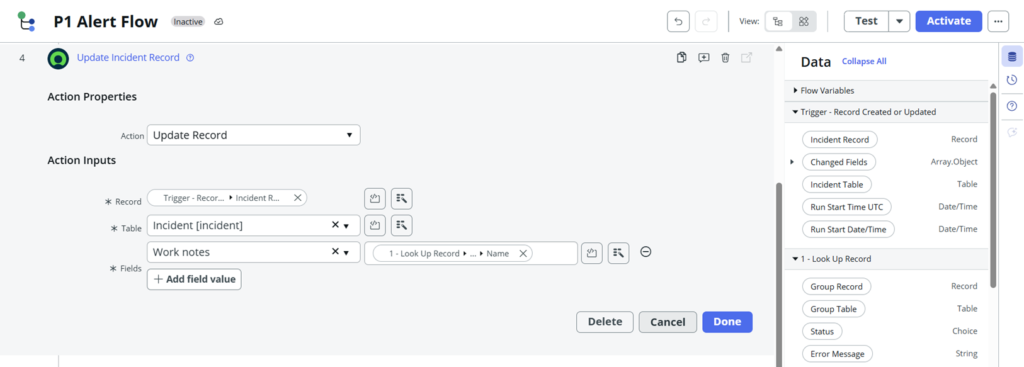
Step 6: Update Record: log it on the incident. Add a work note: “P1 alert sent to [Manager Name]. Triage task created.” This leaves an audit trail on the record.