
A beginner’s guide to Access Control Lists (ACLs) on the ServiceNow platform.
What is an ACL?
An ACL (Access Control List) is a security rule that decides who can do what with data in ServiceNow. Every time a user reads, edits, creates or deletes something, the platform checks the ACLs that apply.
ACLs are stored in the table sys_security_acl and can protect:
- A whole table (for example, incident)
- A single field (for example, incident.close_notes)
- Other objects such as UI pages and REST endpoints
Each ACL has these parts:
- Type: what is protected (record, UI page, REST endpoint and so on)
- Operation: the action, such as read, write, create or delete
- Name: the table or field, for example incident.* (all fields) or incident.priority
- Requires role: the roles allowed in
- Condition: an optional filter on the record
- Script: optional code that sets answer to true or false
Why do ACLs matter?
- Security: they stop users from seeing or changing data they should not.
- Least privilege: each person gets only the access their job needs.
- Compliance: they help meet rules about sensitive data such as HR, finance or personal records.
- Real protection: ACLs are enforced on the server. UI Policies and Client Scripts only change what the screen shows, so they are not security.
- Safe automation: scripts, widgets and AI-generated code should respect ACLs so they cannot expose data the user is not allowed to see.
How do ACLs work?
- A user asks to read or change a record or field.
- ServiceNow looks for matching ACLs, starting with the most specific (table and field) and moving to the least specific (table, then parent tables, then wildcards).
- If several rules match the same object and operation, access is granted when at least one passes.
- For a field, both the table-level rule and the field-level rule must allow access.
- If no rule matches, the default setting decides. The recommended setting is deny.
How to create an ACL
You need the security_admin role, and you must elevate to it first.
- Go to System Security > Access Control (ACL) and click New.
- Set Type, Operation and Name (the table or field).
- In Requires role, add the roles that should have access.
- Optionally add a Condition or a Script.
- Click Submit.
Example 1: restrict a table by role
Only users with the role ai_governance_admin may read the table u_ai_tool_audit:
- Type: record
- Operation: read
- Name: u_ai_tool_audit (table, no field)
- Requires role: ai_governance_admin
Steps to create it
- Go to User Administration > Roles, click New, name it ai_governance_admin and click Submit (skip this if the role exists).
- Elevate to security_admin.
- Go to System Security > Access Control (ACL) and click New.
- Set Type to record and Operation to read.
- In Name, pick the table u_ai_tool_audit and leave the field as — None —.
- In Requires role, add ai_governance_admin.

How to check it
- Impersonate a user without the role and open u_ai_tool_audit.list. They should see no records.
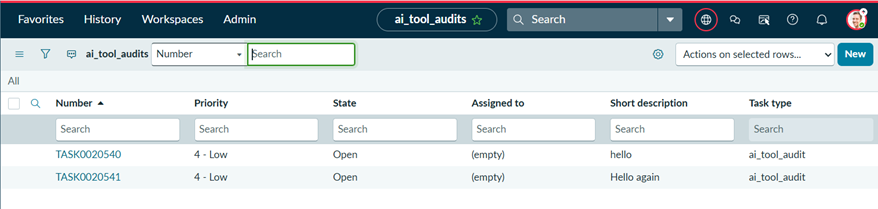
2.Impersonate a user who has the role. They should see the records.
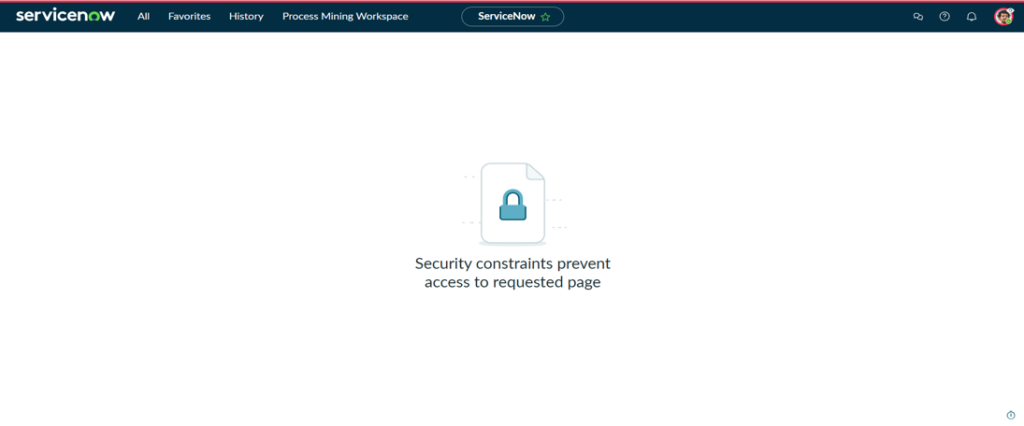
Admin overrides is ticked by default, so admins always pass. Test with a non-admin user.
Example 2: use a script
Allow a user to update an record in u_ai_tool_audit only if it is assigned to them:
answer = (current.getValue(‘assigned_to’) == gs.getUserID());
Steps to create it
- Elevate to security_admin and open a new ACL (System Security > Access Control (ACL) > New).
- Set Type to record, Operation to write and Name to u_ai_tool_audit (field — None —).
- Tick Advanced so the Script box appears.
- Paste the script above into Script.
- Click Submit.
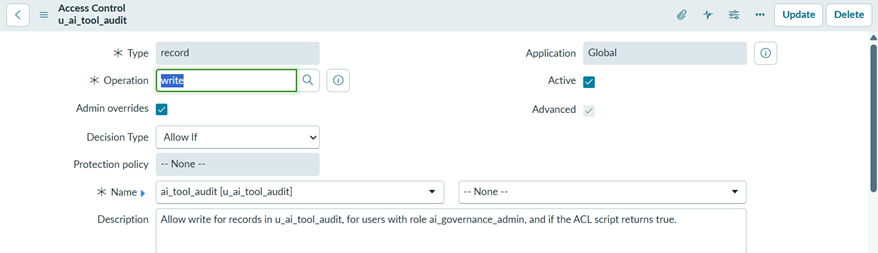

One thing to check first. In artifact 1 I had you create a write ACL on this table for ai_governance_admin. If you created it, it lets both users write, because any one passing rule grants access. Open the ACL list, filter by u_ai_tool_audit, and untick Active on that older write rule for the test. Turn it back on afterwards.
How to test an ACL
- Impersonate acl_user_a, open the record, edit and save. It should save.
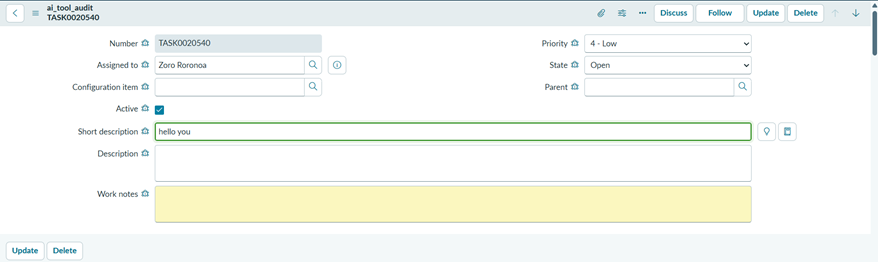
- Impersonate acl_user_b, open the same record. The fields should be read-only.
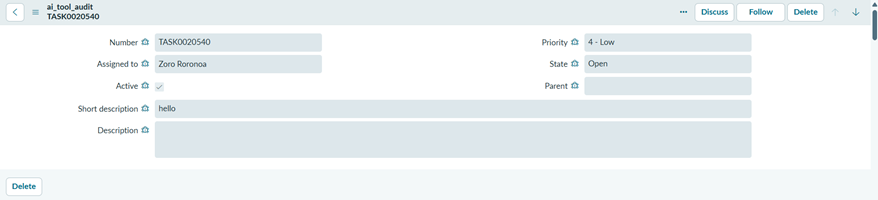
- Check System Security > Debug Security Rules to see which rule passed for each user.

Best practices
- Start from deny and grant only what is needed.
- Prefer roles and conditions over scripts. They are faster and easier to read.
- Keep ACL scripts short and avoid heavy queries.
- Do not give the admin role to people who do not need it.
- In your own server scripts, use canRead(), canWrite() or GlideRecordSecure so ACLs are respected.
- Never rely on UI Policies or Client Scripts to protect data.
Common mistakes
- Creating an ACL with no role and no condition, which allows everyone.
- Forgetting that field ACLs and table ACLs both apply.
- Testing only as admin, which hides access problems.
- Editing ACLs without elevating to security_admin.
Summary
ACLs are ServiceNow’s server-side access rules. Know what each rule protects, grant the minimum access needed, and always test with a real non-admin user.